
sumber: https://glints.com/id/lowongan/cara-membuat-desain-logo-di-photoshop/#.Yun0QXZByUk
First step: prepare the canvas
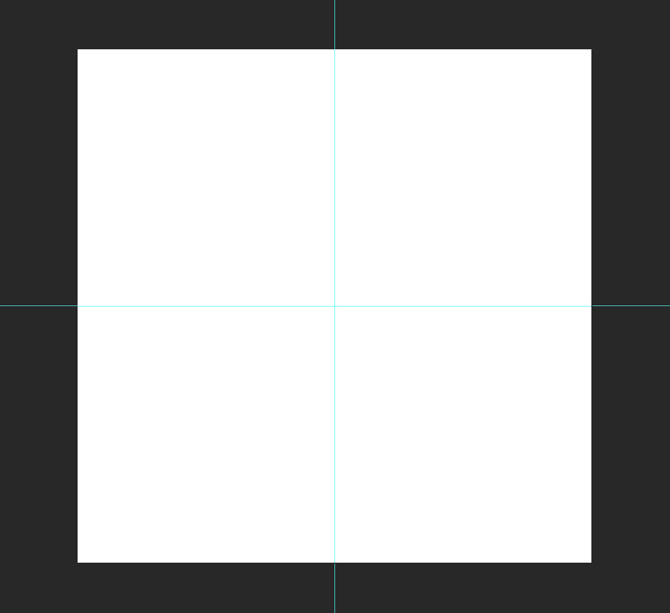
After opening the Photoshop application, start by loading a new document. You can use a square canvas with a size of 1000 x 1000 pixels. These sizes will provide flexibility during logo creation. Next, click the View icon > New Guide and create a Horizontal and Vertical guide of 50%. This is to make it easier to position the elements of the logo to be created.
Step two: build the basic shape

In this example of how to create a logo in Photoshop, we will create a basic shape using three right triangles. So, the step is to select the Rectangle tool and make sure you have selected Shape. Hold down the Shift key to constrain the proportions and draw a square shape of approximately 220 pixels on each side of the canvas. Then take the Pen Tool and click on the bottom point of the newly created rectangle. That will delete the point and turn it into a right triangle shape. Next use the keyboard shortcut Ctrl+T to change the triangle. Rotate until the right corner is pointing up. Then use the Ctrl+V shortcut to position the triangle so that its right corner is in the center of the canvas.
Third step: position the shape
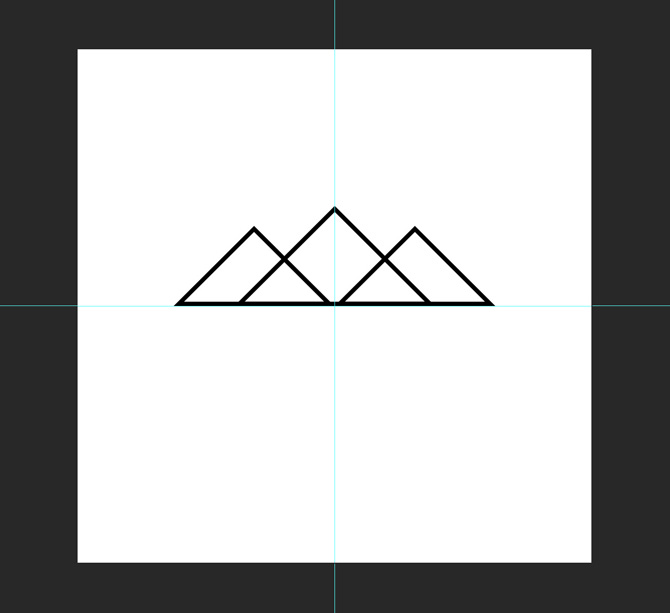
This step will create a triangular shape three times. So you can use the shortcut Ctrl+J twice to duplicate it. Take one of the triangles and position it so that its left corner is in the center of the canvas and touches the other triangle. Select the copy triangle and change it to 125% to make the shape bigger. Use the Move tool and position it so that its base is parallel to the other two triangles. Meanwhile, in the upper corner it is in a position in the middle.
Fourth step: color the shape
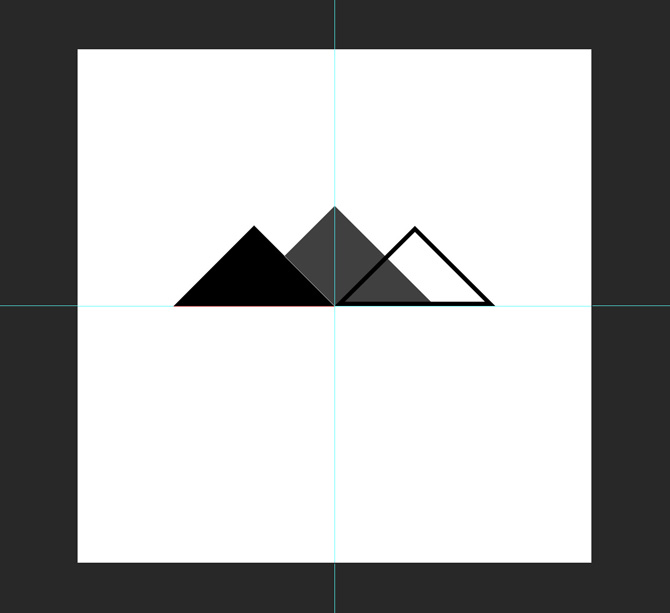
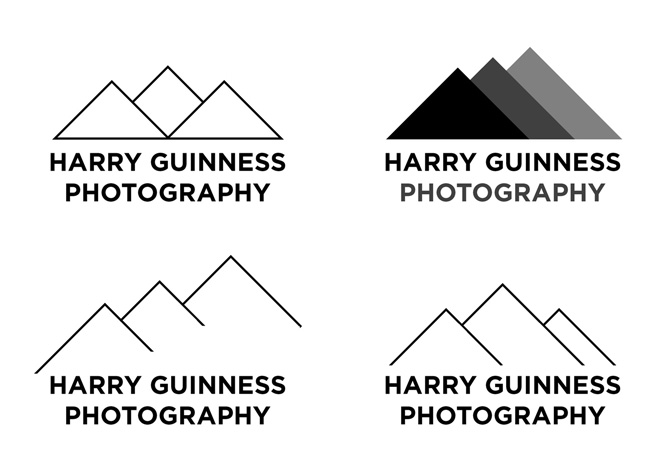
This coloring step is very important because it can make the logo stand out. For the logo design, the three mountains will be colored in gradient with the center mountain given a lighter color to indicate its farther away. You do this by selecting Rectangle and selecting one of the triangles on the side. Change the Fill and Stroke to black and do the same on the other side of the triangle. Meanwhile, for the triangle in the middle, change the Fill and Stroke to a slightly darker gray color.
Fifth step: add text
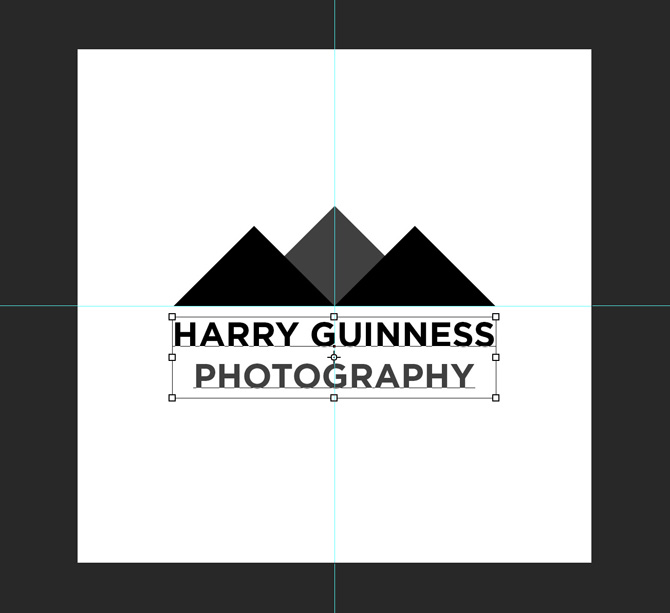
After getting the logo design and the desired color, the next step of how to create a logo in Photoshop is to add text. Here an example of a brand created is Harry Guinness Photography. Select the Text tool then click on the canvas and enter the brand name. Use a font that matches the design style of the image. Then, click the Move and Transform tool and position the text with the logo. Don’t forget to match the color of the text with the shape of the design.
Sixth step: try some variation
After completing the creation of the logo design and providing the text, it does not mean that your journey is over. You can try several variations such as changing the layout of the shape or changing the color. Decide which logo design best suits your wishes. However, don’t forget to keep adjusting the logo to its brand identity.
Komentar Terbaru