
sumber: https://mragus.com/membuat-crud-native-php-dengan-mysqli/
In this tutorial, writing CRUD using object oriented style. Immediately, we start scripting to create CRUD using this mysqli. The table I use is tb_blog with the following structure.
+——————–+——————–+———+——–+————–+————————+
| Field | Type | Null | Key | Default | Extra |
+——————–+——————–+———+——–+————–+————————+
| id | int(11) | NO | PRI | NULL | auto_increment |
| id_kategori | int(11) | NO | | NULL | |
| tanggal | date | NO | | NULL | |
| judul | varchar(50) | NO | | NULL | |
| isi | text | NO | | NULL | |
| status | int(11) | NO | | 0 | |
+——————–+——————–+———+——–+————–+————————+
6 rows in set (0,00 sec)
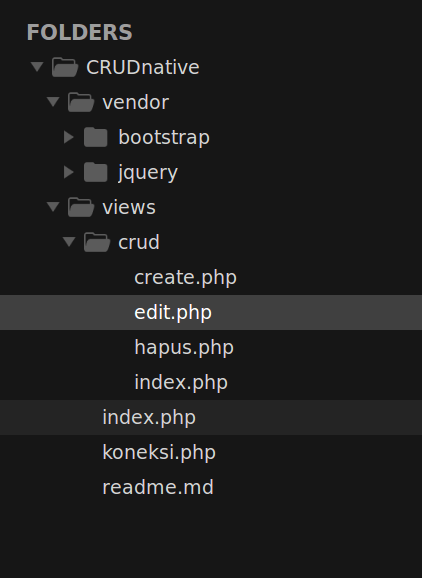
The file structure for this project is as follows. I use bootstrap to beautify its appearance, you can adjust it to the css framework that you like.
For the connection.php script the contents are as follows.
<?php
$koneksi = new mysqli(‘localhost’, ‘root’, ‘password’,‘nama database’);
if ($koneksi->connect_error) {
die(“Koneksi Gagal: “ . $koneksi->connect_error);
}
?>
CRUD Scripts
After we create a database and connect to the mysql server database, our next step is to create an index.php file which is used to display a list of data from tb_blog. The script for it is as follows.
<?php
require_once(‘koneksi.php’);
$query = “SELECT * FROM tb_blog”;
$urlcrud = “index.php?page=crud/”;
?>
<div class=“row”>
<div class=“col-lg-12”>
<a href=“<?= $urlcrud.‘create’?>“ class=“btn btn-success btn-sm”><span class=“glyphicon glyphicon-plus”></span> Tambah</a>
<table class=“table table-hover table-bordered” style=“margin-top: 10px”>
<tr class=“success”>
<th width=“50px”>No</th>
<th>id kategori</th>
<th>Tanggal</th>
<th>Judul</th>
<th>Isi</th>
<th>Status</th>
<th style=“text-align: center;”>Actions</th>
</tr>
<?php
if($data=mysqli_query($koneksi,$query)){
$a=1;
while($obj=mysqli_fetch_object($data)){
?>
<tr>
<td><?= $a ?></td>
<td><?= $obj->id_kategori ?></td>
<td><?= $obj->tanggal ?></td>
<td><?= $obj->judul ?></td>
<td><?= $obj->isi ?></td>
<td><?= $obj->status ?></td>
<td style=“text-align: center;”>
<a onclick=“return confirm(‘Apakah yakin data akan di hapus?’)” href=“<?= $urlcrud.‘hapus&id=’.$obj->id ?>“ class=“btn btn-danger btn-sm”><span class=“glyphicon glyphicon-trash”></span></a>
<a href=“<?= $urlcrud.‘edit&id=’.$obj->id ?>“ class=“btn btn-success btn-sm”><span class=“glyphicon glyphicon-edit”></span></a>
</td>
</tr>
<?php
$a++;
}
}
?>
</table>
</div>
</div>
Then we create a create.php file to display the create form, with an example script as follows. For the insert process, I also use this file. It can be seen, when the POST method executes the insert process, I also use try catch to insert this data.
<?php
require_once(‘koneksi.php’);
if($_POST){
try {
$sql = “INSERT INTO tb_blog (id_kategori,tanggal,judul,isi,status) VALUES (‘”.$_POST[‘id_kategori’].“‘,'”.$_POST[‘tanggal’].“‘,'”.$_POST[‘judul’].“‘,'”.$_POST[‘isi’].“‘,'”.$_POST[‘status’].“‘)”;
if(!$koneksi->query($sql)){
echo $koneksi->error;
die();
}
} catch (Exception $e) {
echo $e;
die();
}
echo “<script>
alert(‘Data berhasil di simpan’);
window.location.href=’index.php?page=crud/index’;
</script>”;
}
?>
<div class=“row”>
<div class=“col-lg-6”>
<form action=“” method=“POST”>
<div class=“form-group”>
<label>Kategori</label>
<input type=“text” value=“” class=“form-control” name=“id_kategori”>
</div>
<div class=“form-group”>
<label>Tanggal</label>
<input type=“text” value=“” class=“form-control” name=“tanggal”>
</div>
<div class=“form-group”>
<label>Judul</label>
<input type=“text” value=“” class=“form-control” name=“judul”>
</div>
<div class=“form-group”>
<label>Isi</label>
<input type=“text” value=“” class=“form-control” name=“isi”>
</div>
<div class=“form-group”>
<label>Status</label>
<input type=“text” value=“” class=“form-control” name=“status”>
</div>
<input type=“submit” class=“btn btn-primary btn-sm” name=“create” value=“Create”>
</form>
</div>
</div>
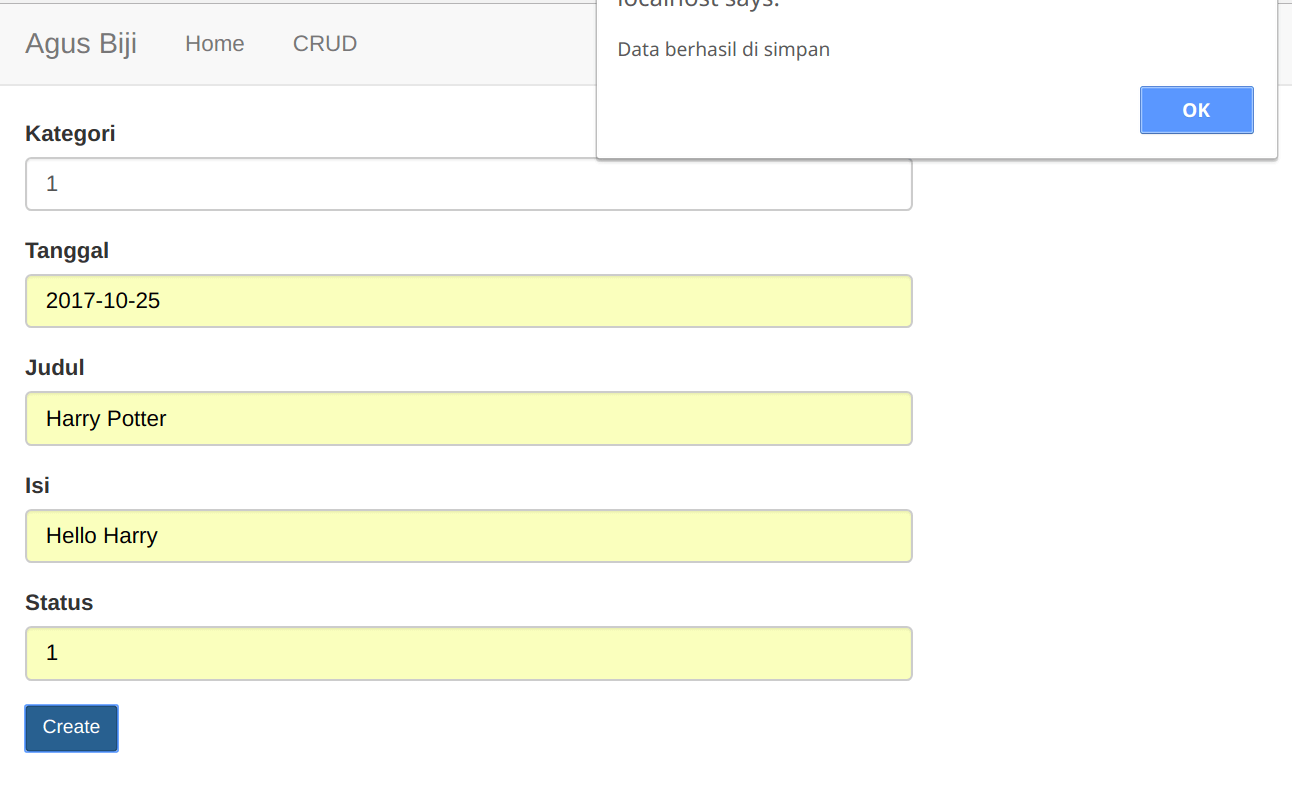
The screenshot of the create form is as follows.

Next we create an edit.php file to display the edit data form for the tb_blog table. Here is an example script.
<?php
require_once(‘koneksi.php’);
if($_POST){
$sql = “UPDATE tb_blog SET id_kategori='”.$_POST[‘id_kategori’].“‘, tanggal='”.$_POST[‘tanggal’].“‘, judul='”.$_POST[‘judul’].“‘, isi='”.$_POST[‘isi’].“‘, status='”.$_POST[‘status’].“‘ WHERE id=”.$_POST[‘id’];
if ($koneksi->query($sql) === TRUE) {
echo “<script>
alert(‘Data berhasil di update’);
window.location.href=’index.php?page=crud/index’;
</script>”;
} else {
echo “Gagal: “ . $koneksi->error;
}
$koneksi->close();
}else{
$query = $koneksi->query(“SELECT * FROM tb_blog WHERE id=”.$_GET[‘id’]);
if($query->num_rows > 0){
$data = mysqli_fetch_object($query);
}else{
echo “data tidak tersedia”;
die();
}
?>
<div class=“row”>
<div class=“col-lg-6”>
<form action=“” method=“POST”>
<input type=“hidden” name=“id” value=“<?= $data->id ?>“>
<div class=“form-group”>
<label>Kategori</label>
<input type=“text” value=“<?= $data->id_kategori ?>“ class=“form-control” name=“id_kategori”>
</div>
<div class=“form-group”>
<label>Tanggal</label>
<input type=“text” value=“<?= $data->tanggal ?>“ class=“form-control” name=“tanggal”>
</div>
<div class=“form-group”>
<label>Judul</label>
<input type=“text” value=“<?= $data->judul ?>“ class=“form-control” name=“judul”>
</div>
<div class=“form-group”>
<label>Isi</label>
<input type=“text” value=“<?= $data->isi ?>“ class=“form-control” name=“isi”>
</div>
<div class=“form-group”>
<label>Status</label>
<input type=“text” value=“<?= $data->status ?>“ class=“form-control” name=“status”>
</div>
<input type=“submit” class=“btn btn-primary btn-sm” name=“Update” value=“Update”>
</form>
</div>
</div>
<?php
}
mysqli_close($koneksi);
?>
In the script above, we can see that there is a condition if the POST method will update the data on tb_blog. Then in the else condition, it is displaying data on the form for the data you want to update. For the delete process, we create a file with the name delete.php with an example script as follows. If the data is successfully deleted, this file will display an alert and automatically redirect to the index.php file.
<?php
require_once(‘koneksi.php’);
try {
$sql = “DELETE FROM tb_blog WHERE id=”.$_GET[‘id’];
$koneksi->query($sql);
} catch (Exception $e) {
echo $e;
die();
}
echo “<script>
alert(‘Data berhasil di hapus’);
window.location.href=’index.php?page=crud/index’;
</script>”;
?>
Trials
After we create the script above, we start testing this project. First we open the index file with the following appearance.
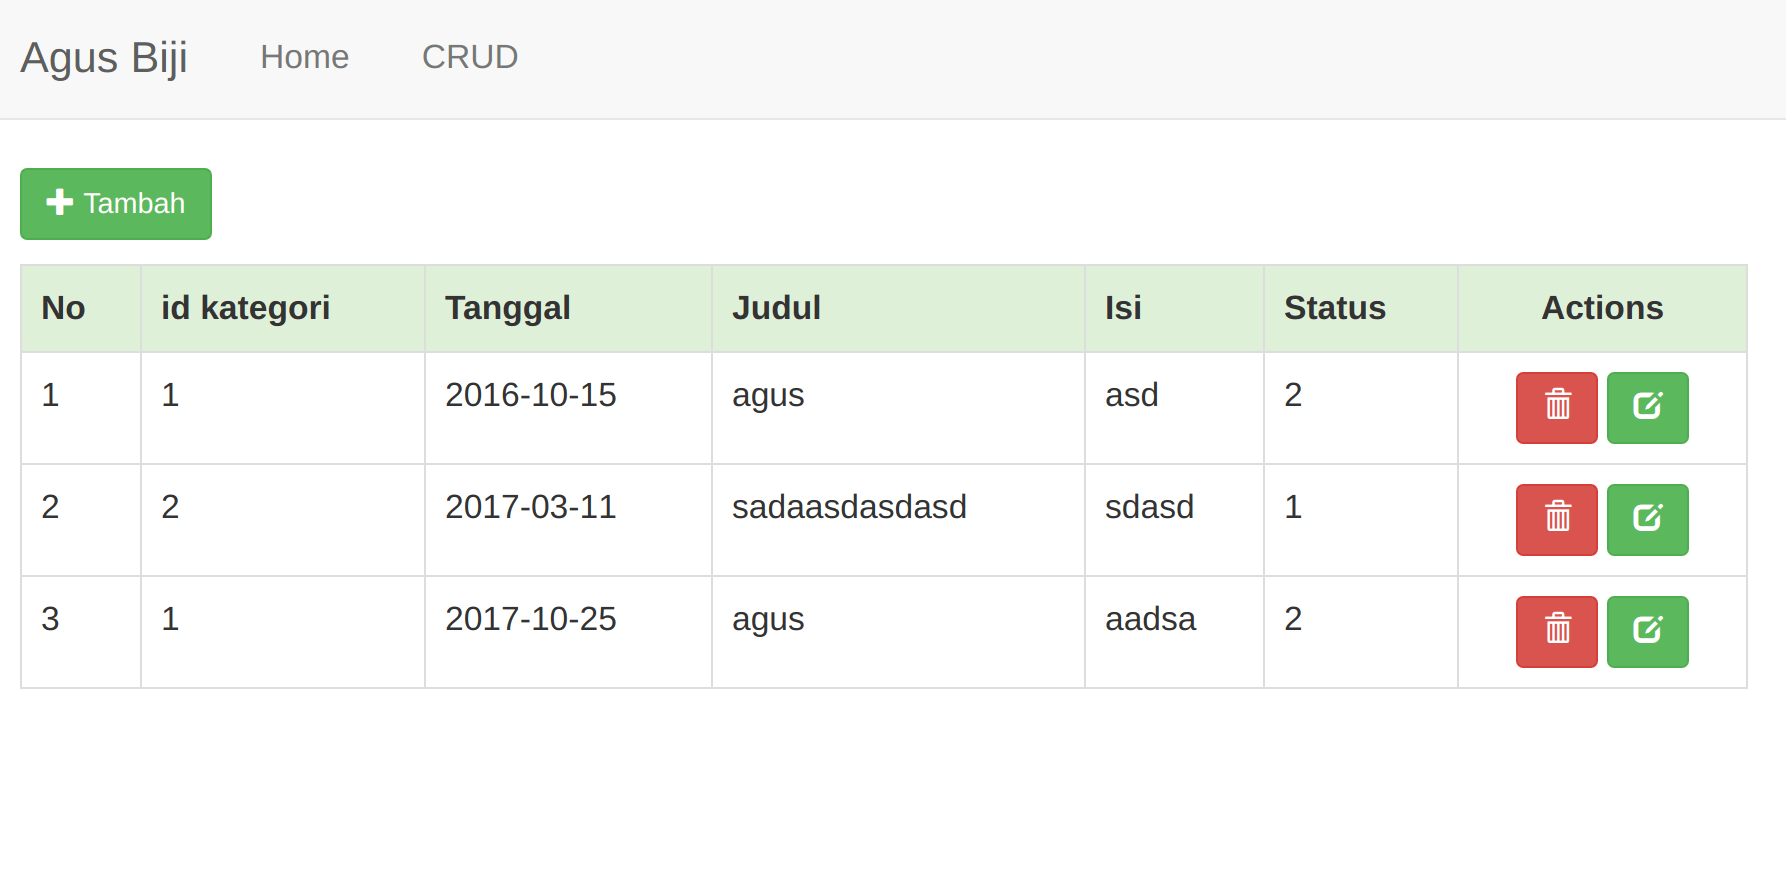
Next we will insert new data by accessing the add button.
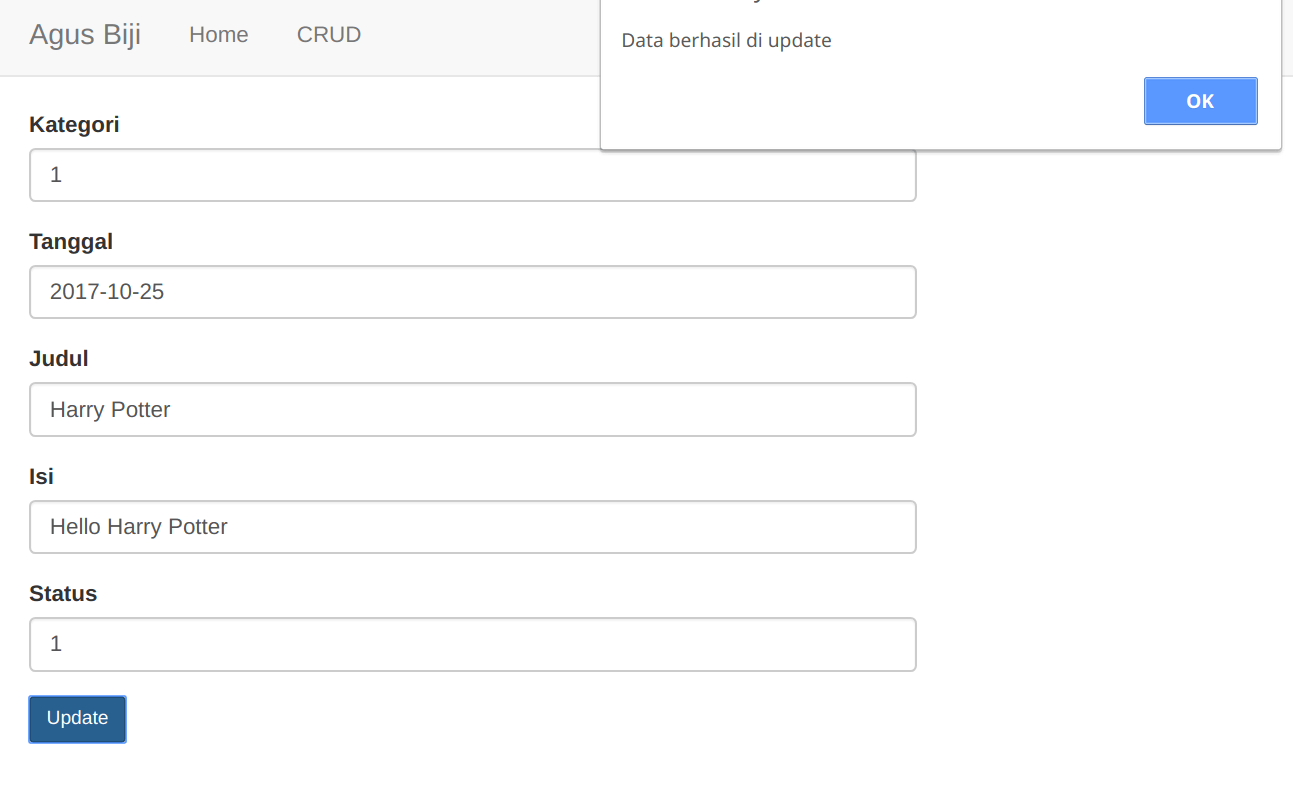
Then we try to access the data update form.
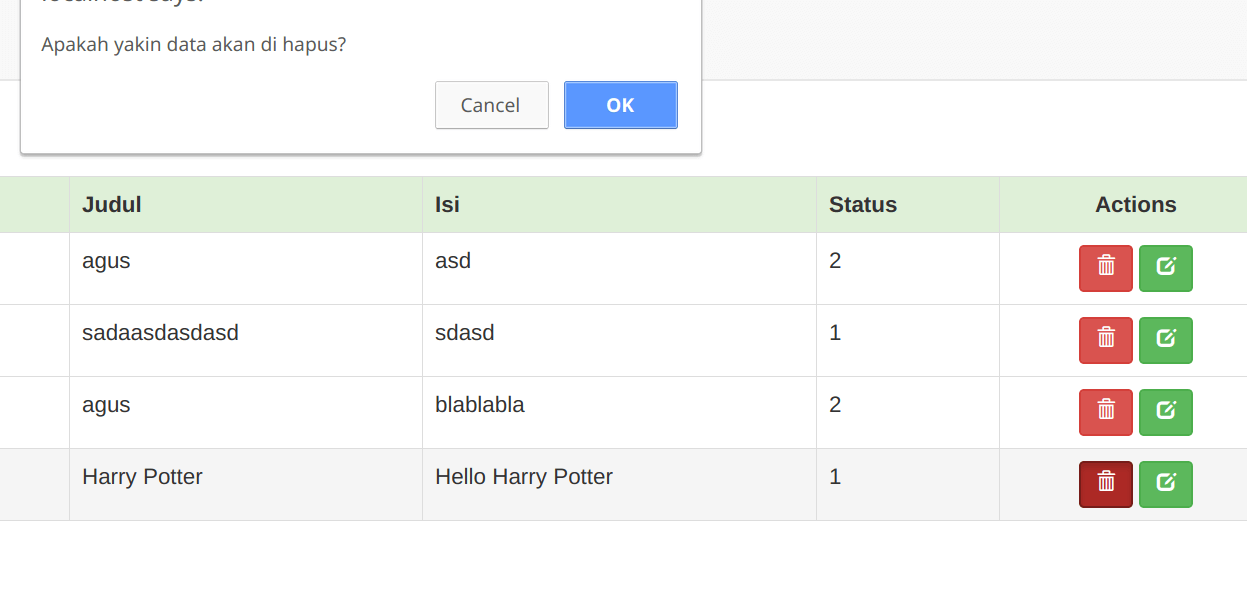
Next we can test to delete the data by clicking the red button in the index view.
Komentar Terbaru